 Lucas Oliveira
Discover how to scale video production by using Claude as an AI video producer paired with Remotion, rendering customized dynamic clips in seconds for pennies.
Imagine never opening a complex, laggy video timeline again. Instead of spending hours dragging keyframes, fighting timeline glitches, or paying agencies massive retainers for simple social clips, you tell an AI model what you want in plain English, and a flawless, high-fidelity MP4 file emerges seconds later. This is not a distant vision of the future; it is a practical, programmatic workflow you can build today to achieve massive scale in your content strategy using automated video production AI.
By pairing Claude Code (Anthropic’s command-line AI agent) with Remotion (a framework that builds videos using web code), you can bypass traditional, time-consuming editing software entirely. You can treat Claude as a virtual video producer that handles the heavy lifting, giving you the power to output thousands of personalized videos for the cost of a cup of coffee.
What You'll Be Able to Do
- Automate Motion Graphics & Milestones: Generate animated social media clips, SaaS milestone celebrations, and personalized customer onboarding videos on autopilot.
- Produce Content for Pennies: Transition from expensive editing suites and agency fees to an automated pipeline costing a fraction of a cent per video.
- Run Bulk Rendering Pipelines: Spin up hundreds of videos concurrently, scaling your output to match marketing campaigns, user milestones, or social feeds.
What You Need
- A computer terminal (Mac Terminal, VS Code, or Windows Command Prompt).
- A Claude Pro account ($20/month) to run Claude Code.
- An AWS Account (only if you want to scale to serverless rendering; local rendering is free).
- No developer experience required—Claude writes the code while you provide the creative direction.
1. The No-Code Video Revolution: How Claude and Remotion Automate Production
In January 2026, the tech landscape witnessed a seismic shift. Remotion officially released its dedicated Agent Skills for Claude Code. The announcement gained over 8.8 million views on X in a single day and surpassed 25,000 installs in its first week. This marked the definitive transition of programmatic video creation from a niche developer activity to a mainstream AI-assisted workflow. This shift is essential because traditional video creation remains deeply inefficient for fast-moving businesses.
Standard motion graphics tools like Adobe After Effects cost $37.99/month per license, require expensive GPU-heavy hardware, and demand 40 to 80 hours of training just to master basic timelines. Outsourcing is even costlier, with a basic 30-second explainer video from a digital agency typically ranging from $500 to $1,500.
When you transition to a vibe coding paradigm, you treat video creation as a software compilation loop. By using automated video production AI, founders can build professional animated clips for the price of a Claude Pro subscription plus negligible serverless rendering fees. You gain high-end, customized motion graphics on demand, free from the visual clutter of traditional editors.
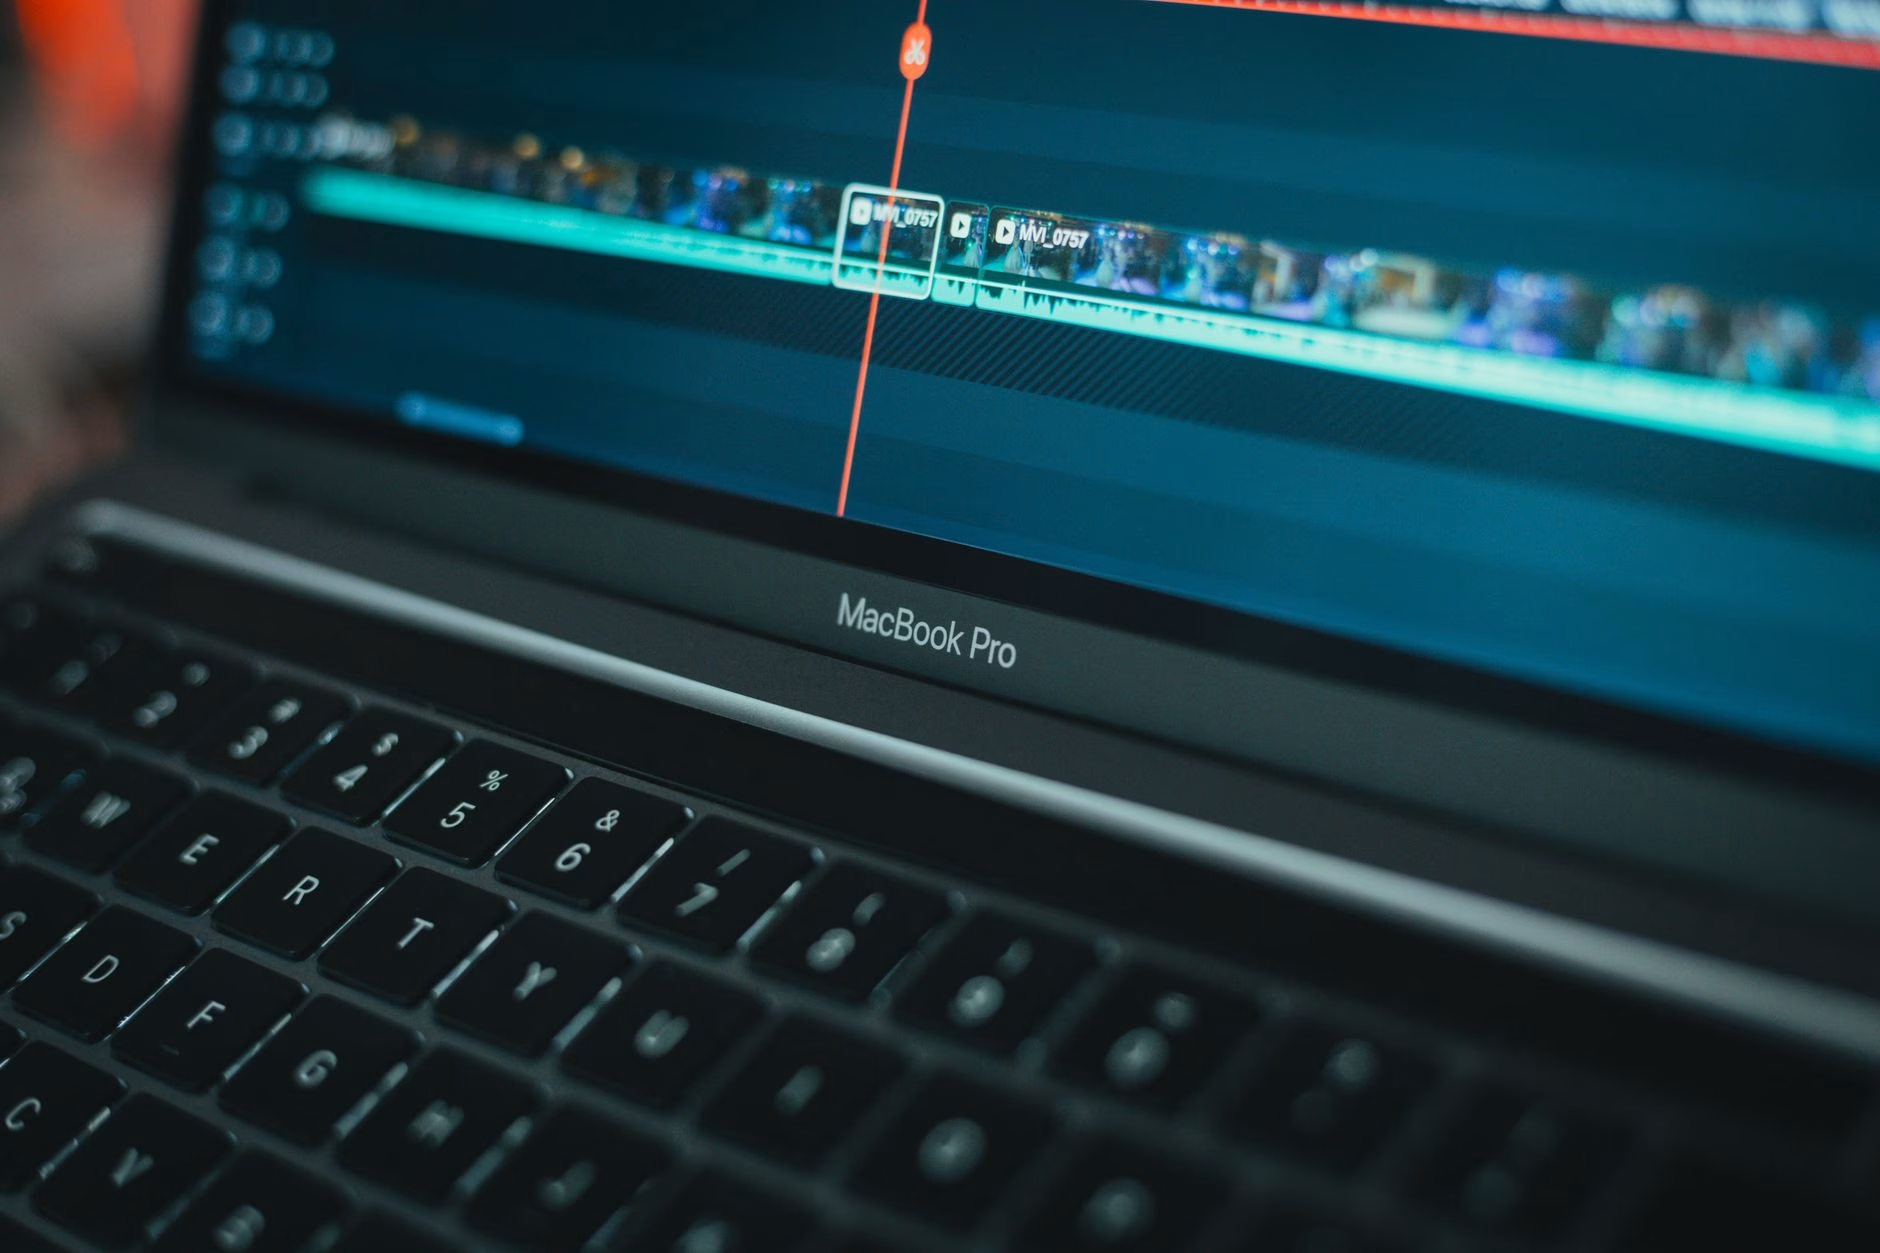
2. Setting Up Your AI Video Agent: Remotion Studio and Claude Agent Skills
To start using Claude Code video automation, we must establish a workspace where Claude can write video code while you visually inspect the results. We will use Remotion Studio—a local visual preview dashboard that runs in your browser and updates instantly as the AI iterates.
First, initialize the project and load Remotion’s intelligence into Claude via your terminal:
# 1. Create a fresh Remotion video project
npx create-video@latest ssaas-milestone --template=blank --tailwind --typescript

# 2. Navigate into your new video project folder
cd ssaas-milestone

# 3. Add the official Remotion Skills to teach Claude how to write perfect video code
npx skills add remotion-dev/skills

# 4. Fire up the local visual development server
npm run dev
Executing the final command opens a local web address (usually http://localhost:3000). This is your Remotion Studio. Keep this running in the background as your visual canvas.
Upgrading with Community Toolkits
To fast-track your builds, integrate community-driven templates like the Claude Code Video Toolkit. This workspace template extends Remotion with pre-built polished transitions—such as glitch effects and clock wipes—and automated workflow triggers, providing Claude with structural boundaries so it does not have to invent UI components from scratch.
Handling the "Open-Loop" Visual Bottleneck
The Golden Rule of AI Video: Claude Code runs in a text-only terminal, meaning it is blind. It cannot directly "see" the visual layers or text alignments it generates. This is an open-loop system, which occasionally results in layout issues like overlapping text or off-screen elements.
You must act as the visual loop-closer. Keep your Remotion Studio window open next to your terminal. If something looks misaligned, tell Claude in plain English: "The main text is overlapping the card, please shift the title up by 40 pixels." Alternatively, take a screenshot of your browser preview and feed it directly into Claude to show the AI exactly what needs adjustment.
3. From Idea to MP4: Constructing Your First Milestone Metric Video
Let's build an automated SaaS metric milestone video to celebrate your platform hitting a target user count. This programmatic video creation guide turns raw data into premium social assets.
Launch Claude Code in your ssaas-milestone folder:
claudeIssue a design prompt in plain English:
"Use the Remotion best practices skill to create a new 10-second social video composition named 'MilestoneVideo'. The video should run at 30 frames per second (300 frames total). Apply a dark violet gradient background. At the start, animate a card scaling up smoothly from 0 to 1 using a spring physics effect. Inside the card, show a counting-up number from 0 to 5,000 that stabilizes at frame 90. At frame 100, slide a secondary 'Thank You' banner up from the bottom of the screen."
Claude reads your project files and writes a component (e.g., src/MilestoneVideo.tsx). The React code handles frame-by-frame calculations:
import { AbsoluteFill, spring, useCurrentFrame, useVideoConfig, interpolate } from 'remotion';
import React from 'react';

export const MilestoneVideo: React.FC<{ targetMilestone?: number }> = ({
  targetMilestone = 5000
}) => {
  const frame = useCurrentFrame();
  const { fps } = useVideoConfig();

  const cardScale = spring({
    frame,
    fps,
    config: { mass: 0.5, stiffness: 120, damping: 12 },
  });

  const currentMetric = Math.floor(
    interpolate(frame, [15, 90], [0, targetMilestone], {
      extrapolateLeft: 'clamp',
      extrapolateRight: 'clamp',
    })
  );

  const bannerY = spring({
    frame: frame - 100,
    fps,
    config: { damping: 15 },
  });

  const bannerTranslateY = interpolate(bannerY, [0, 1], [400, 0], {
    extrapolateLeft: 'clamp',
    extrapolateRight: 'clamp',
  });

  return (
    <AbsoluteFill className="bg-gradient-to-br from-slate-950 via-violet-950 to-indigo-950 flex flex-col justify-center items-center text-white font-sans">
      <div
        style={{ transform: `scale(${cardScale})` }}
        className="bg-slate-900/80 border border-violet-500/30 p-10 rounded-2xl shadow-2xl text-center backdrop-blur-md"
      >
        <h1 className="text-2xl font-bold text-violet-400 uppercase tracking-widest">Milestone Achieved</h1>
        <p className="text-7xl font-extrabold mt-4 text-transparent bg-clip-text bg-gradient-to-r from-pink-500 via-purple-500 to-indigo-500">
          {currentMetric.toLocaleString()}
        </p>
        <p className="text-slate-400 mt-2 text-lg">Active Platform Users</p>
      </div>

      {frame >= 100 && (
        <div
          style={{ transform: `translateY(${bannerTranslateY}px)` }}
          className="absolute bottom-20 bg-emerald-950/40 border border-emerald-500/20 px-8 py-4 rounded-full backdrop-blur-sm"
        >
          <span className="text-emerald-300 font-semibold text-lg">🚀 Thank you to our incredible community!</span>
        </div>
      )}
    </AbsoluteFill>
  );
};
Render this file into an MP4 with:
npx remotion render src/index.ts MilestoneVideo out/milestone.mp4You now have a production-grade 1080p MP4. Because this is code-based, you can feed a database of metrics into this template to churn out hundreds of individualized videos without opening an editor.
4. The Art of 'Vibe Management' and Polishing
Effective "vibe management" is essential. Instead of fighting code, you direct high-level visual systems, pacing, and flow while letting Claude execute the underlying math. Avoid common pitfalls that betray a robotic origin.
Avoiding the 'Uniform Spring Physics Trap'
Claude often applies identical spring animations to every element, making videos look artificial. To fix this, explicitly instruct Claude to introduce physical offset and contrast. Use a prompt like: "Stagger the entry times of the UI cards. The main card should spring in first with heavy, sluggish physics. The text inside should fade and slide in 15 frames later with snappy, lightweight physics. This creates visual depth and weight."
Implementing Two-Stage Compositing for Talking-Head Videos
Rendering heavy raw camera footage directly inside Remotion is inefficient. Instead, use a two-stage compositing pipeline:
- Stage 1: Use Remotion strictly to build dynamic visual overlays (captions, slide-ins, logos) as a transparent video file (WebM with alpha or Apple ProRes 4444).
- Stage 2: Use FFmpeg to layer that transparent file over your raw talking-head MP4. This method runs up to 10x faster and maintains rendering stability.
5. Unlocking Penny-Scale Video: Remotion Lambda
Remotion Lambda alters the economics of video production. Instead of rendering sequentially on your computer, Lambda splits the timeline into chunks, uploads them to AWS, and renders them concurrently.
This allows you to scale Remotion Lambda cost scale horizontally, rendering an 80-second high-fidelity marketing video in just 15 seconds. For cloud rendering, a 1-minute 1080p video costs approximately $0.017. You can use the built-in estimatePrice() function to monitor AWS bills in real-time.
Remotion is free for individuals and companies with up to 3 employees. Larger teams require a Company License starting at $100/month. When running heavy concurrent renders, calculate your limits using frameCount / framesPerLambda to stay within your AWS concurrency bounds.
6. Automating the Last Mile: Auto-Publishing with Blotato and MCP
You can build an end-to-end publishing pipeline by linking Claude to distribution tools. Using Claude Code with Remotion, you can automate your entire media workspace. Use local tools like Whisper to transcribe raw footage, then feed that JSON data to Claude to map frame-accurate captions onto your Remotion timeline. To finalize the loop, connect Claude to Claude Model Context Protocol (MCP) to integrate with schedulers like Blotato. This allows you to build an autonomous AI agent workflow that drafts scripts, constructs visuals, renders videos, and schedules them across social platforms—shifting your time from execution to pure creative direction.
Where to Go Next
- Build Your First Render: Follow Section 2 to set up your Remotion Studio.
- Read the Remotion Docs: Explore the Remotion Lambda guide to link your AWS account.
- Design Your Automated Workspace: Start designing a custom workflow to build custom software assets that generate on-brand content daily.
Frequently Asked Questions
Do I need to know how to code in React to use Remotion? +
No. By installing the official Remotion Skills into Claude Code, you can treat Claude as your expert developer. You describe the visual layout, colors, and pacing in plain English, and Claude writes and adjusts the code for you while you preview it in Remotion Studio.
Is Remotion Lambda expensive to run? +
No, it is incredibly cheap. Because it runs on serverless AWS Lambda instances, you only pay for the exact millisecond of computing time you use. A high-quality 1-minute video costs about 1.7 cents ($0.017) to render, making it significantly cheaper than traditional cloud-based video editing subscriptions.
Can I use this setup to auto-generate personalized videos for my customers? +
Yes, this is one of the strongest use cases. You can create a master video template in Remotion and hook it up to a simple spreadsheet or customer database. The automated pipeline can pull user names, logos, or metrics and render custom, individualized MP4 files for every user automatically.